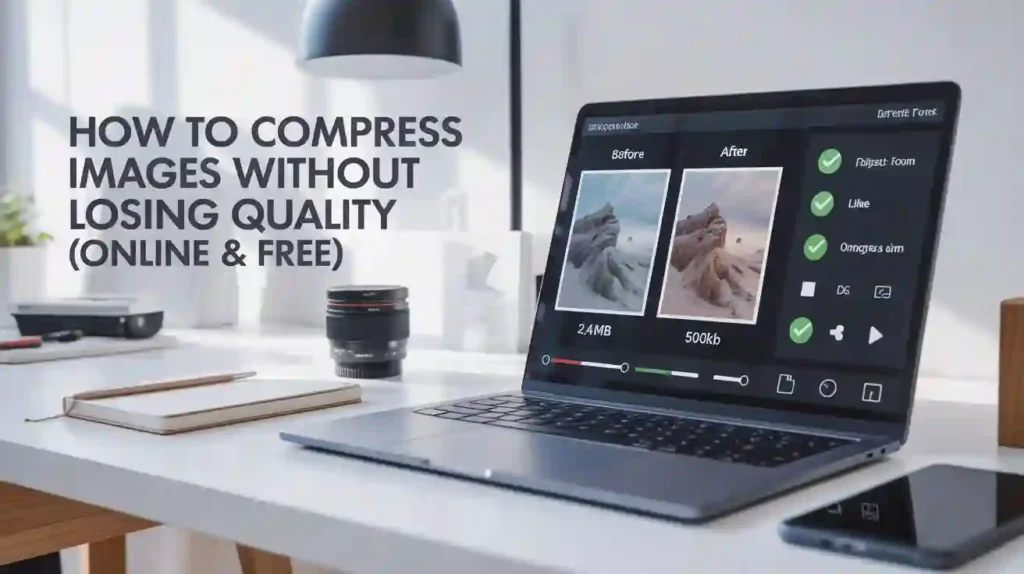
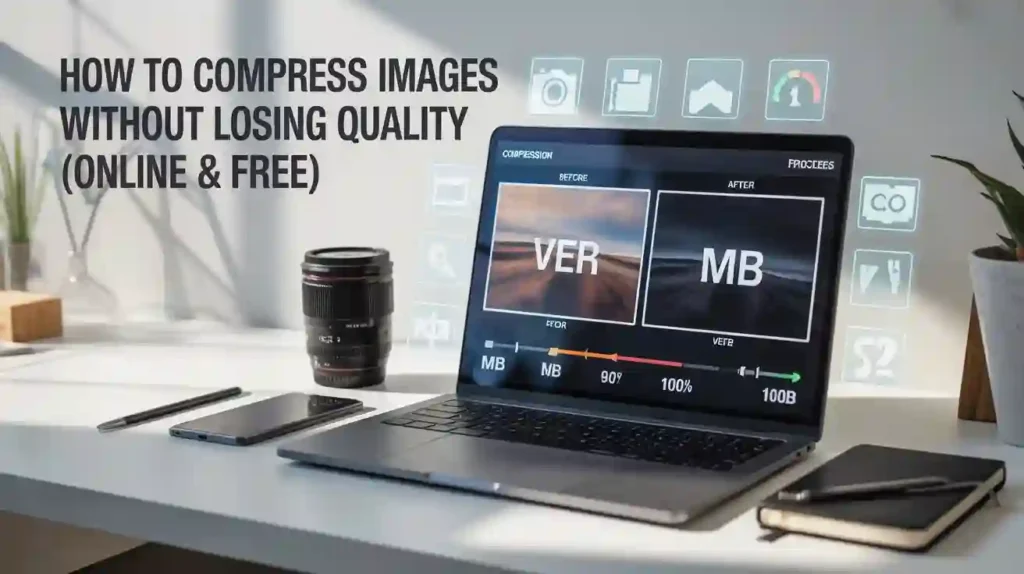
Large image files can slow down your website, eat up storage space, and frustrate visitors waiting for pages to load. If you’ve ever struggled with uploading photos that exceed file size limits or watched your website’s loading speed crawl to a halt, you’re not alone. The good news? You can significantly reduce image size while keeping the visual quality intact. This guide walks you through everything you need to know about compressing images effectively using free online tools, with practical tips that work for everyone from bloggers to ecommerce store owners.
What is Image Compression?
Image compression is the process of reducing the file size of digital photos and graphics without noticeably affecting how they look. Think of it like packing a suitcase more efficiently—you’re fitting the same items into less space.
When you compress an image, specialized algorithms analyze the image data and remove unnecessary information. This might include duplicate color values, hidden metadata like camera settings, or visual details that the human eye can’t easily detect. The result is a smaller file that displays almost identically to the original but loads faster and takes up less storage space.
There are two main approaches to compression. Lossless compression preserves every pixel of the original image, making it perfect for graphics with text or sharp edges where quality matters most. Lossy compression strategically discards some image data to achieve greater file size reductions, which works well for photographs and complex images where minor quality changes go unnoticed.
Understanding this distinction helps you choose the right compression method for your specific needs, whether you’re optimizing product images for an online store or preparing photos for social media.
Why Image Compression Matters for Your Website
Every second counts when someone visits your website. Research shows that 40% of visitors abandon a site that takes more than three seconds to load. Images typically account for the largest portion of webpage file size, making them the most impactful element to optimize.
Compressed images directly improve your website loading speed, which Google considers a ranking factor. Faster sites rank higher in search results, attract more organic traffic, and provide better user experiences across all devices. This becomes especially critical for mobile users who may have slower internet connections.
Beyond SEO benefits, smaller image files reduce bandwidth consumption. This saves money on hosting costs, particularly if you run a high-traffic website or store thousands of product images. Your visitors also benefit from reduced data usage, which matters for those on limited mobile plans.
Image optimization also strengthens your Core Web Vitals scores—the metrics Google uses to measure page experience. Specifically, compressed images improve Largest Contentful Paint (LCP), which measures loading performance, helping your site meet Google’s performance benchmarks.
How to Use Online Image Compression Tools (Step-by-Step)
Compressing images online is straightforward and requires no technical expertise. Here’s a simple process that works with most free image compression tools:
Step 1: Choose Your Compression Tool Navigate to a reliable online image compressor. Popular options include TinyPNG, Compressor.io, and Squoosh. These browser-based tools work on any device without requiring software installation.
Step 2: Upload Your Images Click the upload button or drag and drop your image files directly into the browser window. Most tools support batch processing, allowing you to compress multiple images simultaneously. Common formats like JPEG, PNG, and WebP are universally supported.
Step 3: Select Compression Settings Some tools automatically optimize your images, while others offer a quality slider. For photographs, setting the quality between 75-85% typically provides the best balance between file size reduction and visual quality. PNG files benefit from lossless compression that maintains perfect quality.
Step 4: Review and Download Preview the compressed image to ensure it meets your quality standards. The tool usually displays the original file size compared to the compressed version, showing percentage reduction. Download individual files or get a ZIP archive for bulk compressions.
Step 5: Implement on Your Website Upload the optimized images to your website, replacing the original high-resolution versions. Remember to use descriptive file names and add relevant alt text for SEO benefits.
Best Free Online Image Compression Tools
Selecting the right tool depends on your specific requirements. Here are the most effective free options:
TinyPNG excels at PNG and JPEG compression using smart lossy techniques. It reduces file sizes by 50-80% while maintaining excellent visual quality. The tool handles up to 20 images at once, with each file limited to 5MB. The compression algorithm is particularly effective for photographs and complex graphics.
Compressor.io offers both lossy and lossless compression modes. You can choose between four compression levels depending on your quality requirements. It supports JPEG, PNG, GIF, and SVG formats. The interface shows real-time comparisons between original and compressed images.
Squoosh is Google’s advanced image optimization tool with extensive customization options. It supports modern formats like WebP and AVIF, which offer superior compression compared to traditional formats. The quality slider provides precise control, and you can see changes instantly.
ImageOptim provides excellent lossless compression for Mac users. It removes invisible EXIF data and optimizes color profiles without affecting visual quality. The drag-and-drop interface makes batch processing effortless.
Optimizilla lets you compress up to 20 images simultaneously. The interactive quality control slider helps you find the perfect balance. It’s particularly useful when you need to compress images to specific file sizes like 100KB or 25KB for various platforms.
Understanding Compression Formats and Settings
Different image formats serve different purposes. JPEG works best for photographs and images with gradients because it handles millions of colors efficiently. The format uses lossy compression, which means some image data gets discarded. Setting JPEG quality between 75-85% typically reduces file size by 50-70% with minimal visible quality loss.
PNG format is ideal for images requiring transparency, graphics with text, logos, and illustrations with sharp edges. PNG uses lossless compression, preserving every pixel exactly. While PNG files are typically larger than JPEGs, they maintain perfect quality even after multiple edits and saves.
WebP represents the modern standard for web images. Developed by Google, it provides 25-35% better compression than JPEG at equivalent quality levels. WebP supports both lossy and lossless compression plus transparency, making it versatile for various use cases. Most modern browsers now support WebP, though you should provide JPEG fallbacks for older browsers.
AVIF is the newest format offering even better compression than WebP. It can reduce file sizes by up to 50% compared to JPEG while maintaining similar quality. However, browser support is still growing, so it’s primarily recommended for progressive enhancement strategies.
The compression ratio determines how much you reduce file size. Higher compression ratios create smaller files but risk introducing compression artifacts—visible distortions like blurriness or blocky patterns. Finding the optimal balance requires testing different settings and visually inspecting results.
Advanced Techniques for Quality Preservation
Maintaining visual fidelity while achieving significant file size reductions requires understanding several key techniques.
Progressive JPEGs load in multiple passes, displaying a low-resolution version first that gradually sharpens. This creates a better perceived performance since visitors see something immediately. Progressive encoding typically adds minimal file size but dramatically improves user experience on slower connections.
Metadata removal can reduce file sizes by 10-30% without affecting image appearance. Digital photos contain EXIF data including camera settings, GPS coordinates, and editing history. While useful for photographers, this information is unnecessary for web display and should be stripped during compression.
Chroma subsampling reduces color information while preserving brightness detail. Human eyes are more sensitive to brightness variations than color changes, so this technique exploits that perceptual limitation. It can reduce JPEG file sizes by 20-30% with barely noticeable quality differences in photographs.
Resolution adjustment often provides the biggest file size savings. If you’re displaying an image at 800 pixels wide on your website, there’s no reason to upload a 4000-pixel version. Resize images to their actual display dimensions before compressing for optimal results.
Color profile optimization ensures consistent appearance across devices while minimizing file size. Converting images to the sRGB color space (the web standard) often reduces file sizes and ensures colors display correctly on all screens.
Bulk Image Compression for Websites
Website owners often need to optimize dozens or hundreds of images at once. Bulk compression saves time and ensures consistency across your entire image library.
Most online compression tools support batch processing. You can typically upload 20-50 images simultaneously, though limits vary by service. For larger batches, consider running multiple compression sessions or using desktop software that handles unlimited files.
When compressing images for WordPress, maintaining consistent quality settings across all images creates a professional appearance. Decide on standard compression levels for different image types—perhaps 80% quality for featured images and 75% for thumbnails.
Organizing your workflow improves efficiency. Create separate folders for original high-resolution images and compressed web-ready versions. This lets you maintain source files for future editing while deploying optimized versions to your website.
Desktop applications like FileOptimizer or RIOT handle truly massive batch operations. These programs can process thousands of images overnight, applying consistent compression settings to entire folders while preserving your directory structure.
Compression for Specific Platforms
Different platforms have unique image requirements and size limitations.
Instagram performs automatic compression on uploads, so pre-optimizing images helps maintain quality. Use square images at 1080×1080 pixels for posts and 1080×1920 pixels for stories. Compress to around 1-2MB using 80-85% quality settings to prevent Instagram’s aggressive re-compression from degrading your photos.
Facebook recommends JPEG images at 1200 pixels wide for optimal display. The platform also compresses uploads, so starting with images around 1-2MB at 80% quality provides good results. Avoid uploading images smaller than 600 pixels wide, as Facebook’s algorithm may upscale them, creating blurriness.
Email attachments should stay under 25MB total for most email providers, with individual images ideally under 500KB. Resize images to 800-1000 pixels wide and compress to 70-75% quality. This ensures fast loading in email clients and prevents messages from getting rejected by size limits.
Ecommerce product images require special attention. Customers need to see product details clearly, so use lossless PNG compression for images with transparency or compress JPEGs at 85-90% quality. Provide multiple image sizes—large versions for detailed views and smaller thumbnails for gallery displays.
Common Image Compression Mistakes to Avoid
Even experienced users sometimes make compression errors that hurt image quality or fail to achieve meaningful file size reductions.
Over-compression creates obvious artifacts including blurriness, color banding, and blocky patterns around edges. If you notice visible quality degradation, reduce the compression level until the image looks clean. Starting with higher quality source images also helps prevent artifact formation.
Compressing already-compressed images compounds quality loss. Each compression cycle discards more data, even at high-quality settings. Always compress from original high-resolution source files rather than re-compressing previously optimized images.
Ignoring format selection leads to unnecessarily large files. Using PNG for photographs creates files 3-5 times larger than necessary, while using JPEG for logos with text produces ugly artifacts. Choose formats based on image content and transparency requirements.
Skipping visual inspection means you might miss quality issues until after publishing. Always preview compressed images at 100% zoom before finalizing. Check fine details, gradients, and areas with text to ensure compression hasn’t introduced problems.
Forgetting about mobile optimization leaves mobile users with slow-loading pages. Test compressed images on actual mobile devices over cellular connections to verify acceptable loading speeds.
Measuring Compression Success
Effective image optimization requires tracking results and understanding the impact of your efforts.
File size reduction percentage provides the most straightforward metric. Achieving 50-70% file size reduction while maintaining visual quality indicates successful compression. Tools typically display this comparison automatically.
Page load speed improvements demonstrate real-world impact. Use tools like Google PageSpeed Insights or GTmetrix to measure loading times before and after image optimization. Look for improvements in overall page size, load time, and Core Web Vitals scores.
Visual quality comparison requires careful inspection. View original and compressed images side-by-side at 100% zoom. Check for artifacts, color shifts, or loss of detail. If differences are barely noticeable, you’ve found the optimal compression level.
Bandwidth savings add up over time. Calculate monthly bandwidth reduction by multiplying average page views by the file size decrease per page. This translates directly to hosting cost savings and improved user experience.
Why Choose Toolify Worlds?
Toolify Worlds brings together powerful image compression capabilities alongside 100+ other essential online tools in one convenient platform.
Comprehensive Tool Collection: Beyond image compression, access converters, generators, SEO analyzers, and productivity tools without juggling multiple websites. This saves time and streamlines your workflow.
Privacy-Focused Processing: All image compression happens directly in your browser. Your photos never get uploaded to external servers, ensuring complete privacy and security for sensitive images.
No Registration Required: Start compressing images immediately without creating accounts or providing email addresses. This respects your time and privacy while delivering instant results.
Always Free Access: Professional-grade compression tools remain completely free with no hidden charges, premium tiers, or feature limitations. Everyone deserves access to quality optimization tools.
Regular Updates: The platform continuously adds new features and improvements based on user feedback, ensuring you always have access to cutting-edge compression technology.
Who Can Use This Tool? (Use Cases)
Image compression benefits a diverse range of users across different industries and needs.
Web Developers rely on optimized images to meet Core Web Vitals requirements and deliver fast-loading websites. Compressed images help projects pass Google’s performance benchmarks while maintaining visual quality standards.
Bloggers and Content Creators need to balance image quality with page speed. Compressing featured images, screenshots, and infographics ensures articles load quickly while keeping readers engaged with visually appealing content.
Ecommerce Store Owners manage hundreds or thousands of product images. Efficient compression maintains product photo quality while reducing hosting costs and improving conversion rates through faster page loads.
Digital Marketers prepare images for email campaigns, social media posts, and advertising materials. Meeting platform-specific size requirements while maintaining brand quality becomes effortless with proper compression.
Photographers and Designers share portfolio work online without sacrificing visual impact. Lossless compression preserves artistic intent while making galleries and portfolios accessible to viewers with varying internet speeds.
Students and Educators frequently work with presentation slides, project submissions, and educational materials. Compressing images helps meet file size restrictions for learning management systems and email attachments.
FAQs
Is image compression really free with no limitations? Yes, the image compression tools available through Toolify Worlds are completely free to use. There are no hidden charges, registration requirements, or premium features locked behind paywalls. You can compress unlimited images with professional-quality results.
Will compressing images hurt my SEO rankings? No, image compression actually improves SEO performance. Smaller file sizes lead to faster page loading speeds, which Google considers a ranking factor. Just ensure you maintain sufficient image quality and use descriptive file names plus alt text for each image.
Can I compress images on my phone or tablet? Absolutely. Online compression tools work perfectly on mobile devices through any modern web browser. The interface automatically adapts to smaller screens, making it easy to optimize images directly from your smartphone or tablet.
How much can I reduce file size without visible quality loss? Most photographs can be compressed by 50-70% without noticeable quality degradation when using smart compression algorithms. The exact reduction depends on image content, original format, and compression settings. Always preview results before finalizing.
Is my data safe when using online compression tools? Yes. Image processing happens entirely within your browser using client-side compression technology. Your photos never get uploaded to external servers or stored anywhere, ensuring complete privacy and security for all your images.
What’s the difference between lossy and lossless compression? Lossless compression reduces file size without discarding any image data, maintaining perfect quality. Lossy compression achieves greater size reductions by strategically removing information the human eye struggles to detect. Choose lossless for graphics with text and lossy for photographs.
Optimizing images doesn’t have to be complicated or expensive. With the right free tools and understanding of compression techniques, you can dramatically reduce file sizes while keeping your visuals sharp and professional. Whether you’re building a website, managing an online store, or sharing photos on social media, proper image compression delivers faster loading times, better user experiences, and improved search engine rankings. Start compressing your images today and experience the immediate benefits of optimized web performance.